Custom Cabinets, Shelves, Cases and Other Wooden Creations
Welcome to my site of custom-built wood creations. I will build items like this for you. This diverse collection includes cases, shelves, cabinets, stands, frames, doors and even beds. And they are all being used. None of these creations has been posed in a designer home; they are either shown installed or before being handed over to a family member. Some of those in use are dusty and a few even have cobwebs -- and you'll see how they look in a home with down-to-earth people responding to their own practical needs.
Return to the Custom Cabinets, Shelves, Cases and Other Wooden Creations page
For custom-made musical instruments, please visit my musical instruments page.
Kitchen Island with Granite Top
|
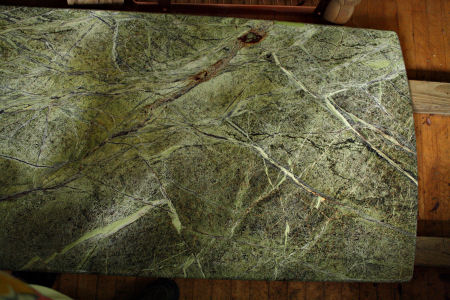 |
Autumn 2007. The granite was the inspiration. Because of its unusual grain and colors, it was an orphan at the nearby stone shop. We fell in love with it and brought the orphan home.
|
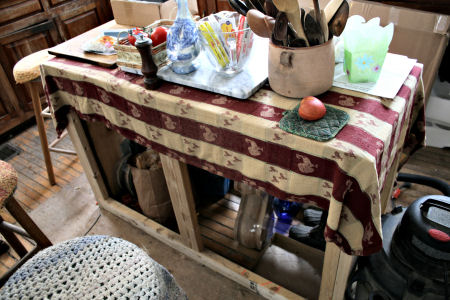 |
In progress, August 17, 2009. After getting the cherry floor insert in place, the structure is built in July 2008. And then comes winter, and it turns into an incomplete albet useful table for a whole year. (Here are more pictures of the cherry floor insert.)
|
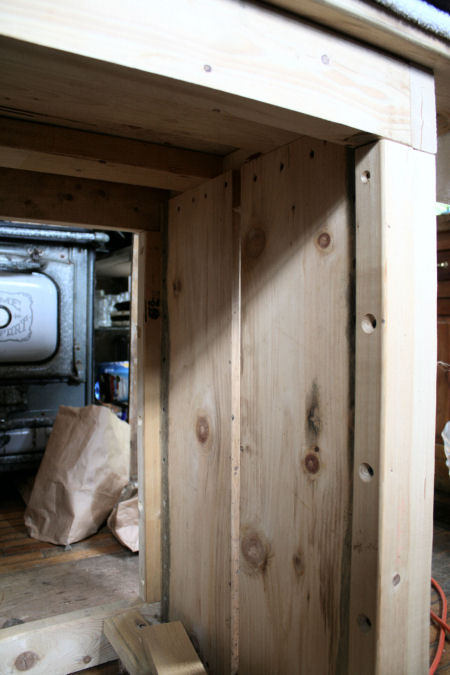 |
Inside shows the structure needed to hold a 375-lb. slab of granite, working cooks, bread kneading, and shelves and drawers of tools and supplies. Yes, there are permanent floor jacks underneath the kitchen floor.
|
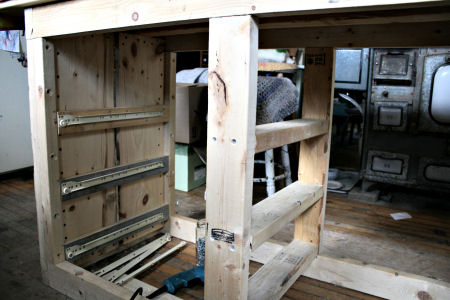 |
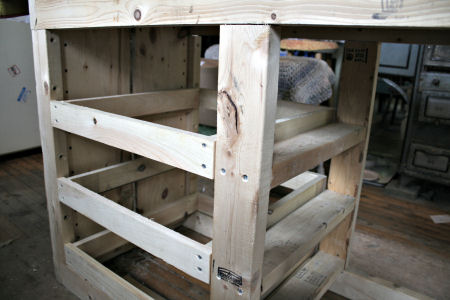
In progress, August 18, 2009. Shelf supports and sliders are installed.
|
 |
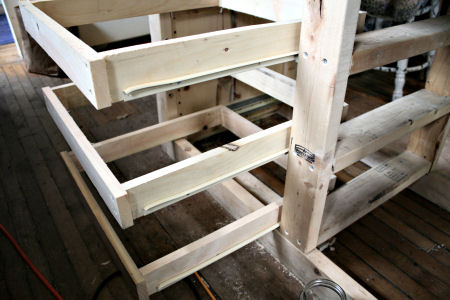
Drawer frames are created and the slider sections mated. Each shelf is unique.
|
 |
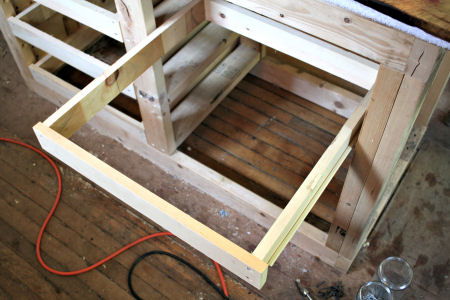
The sliders are tested for integrity.
|
 |
Right-hand drawer frames are built and mated.
|
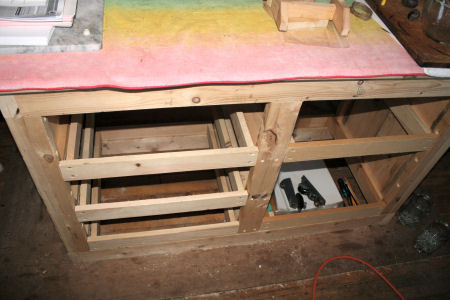 |
Frames are in place -- four short drawers and one tall one.
|
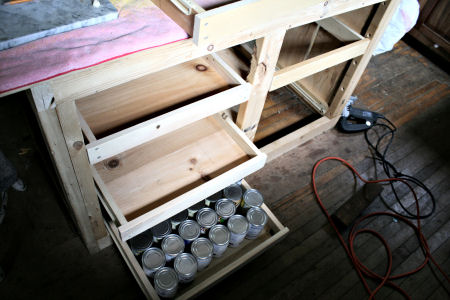 |
In progress, August 19, 2009. Drawer bottoms are attached from solid fir, and each holds more than 40 lbs. in cans and bottles.
|
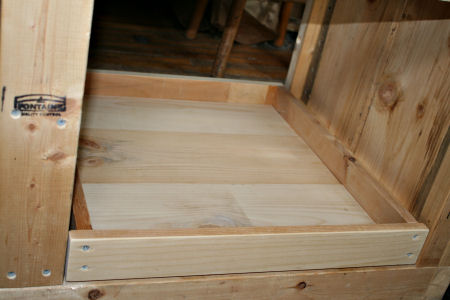 |
The drawers look very attractive. They will be painted outside, but the inside sides and bottom will stay clear.
|
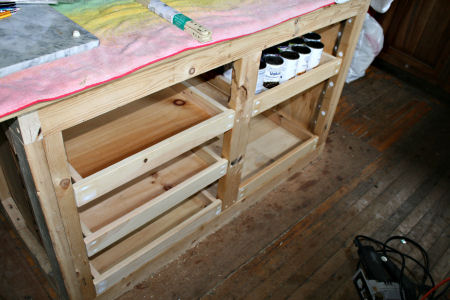 |
Holes are filled and sanded. Each drawer is tested for weight and to make sure it doesn't fall off the track when slammed.
|
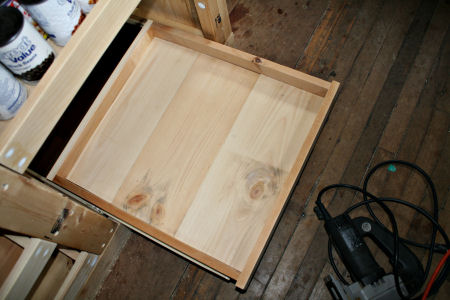 |
The drawers slide out 14 inches for easy reach.
|
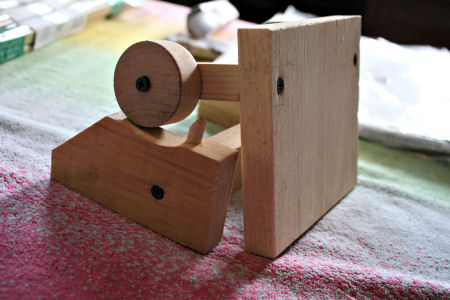 |
At this point the island is still in progress. Copper is ordered to create door panels, and a small mockup of the upward-sliding doors is built.
|
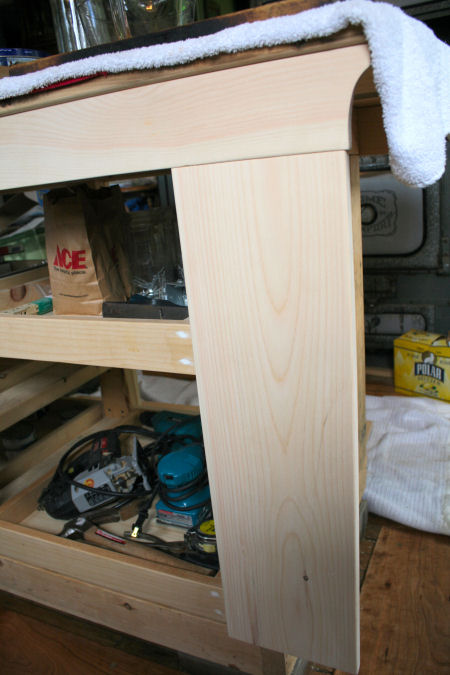 |
In progress September 3, 2009. Facing boards begin to be installed. The square edges of all our work are broken by occasional but infrequent curves. All the facing boards are screwed in from the back to reveal and unbroken surface.
|
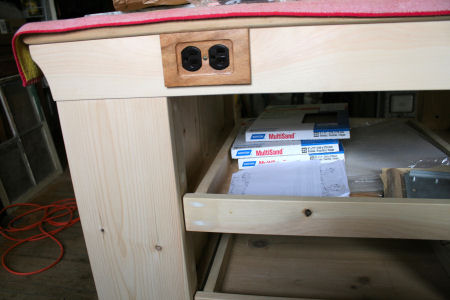 |
Electrical outlet cover is temporary; it will be replaced by a brass plate.
|
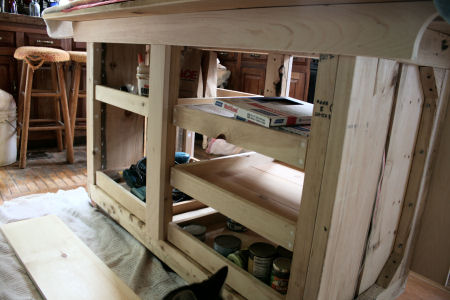 |
Back of the island will not open, but it is created (other than the overhang for elbow-leaners) to be symmetrical.
|
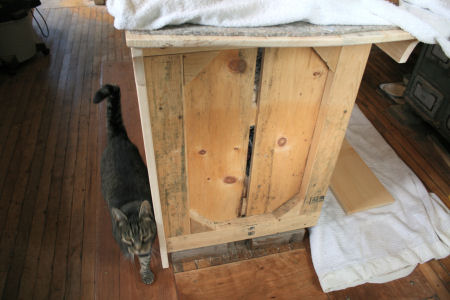 |
Edge-on view of the side facing the kitchen sink. This will become shelves for frequently used items. Gesualdo inspects.
|
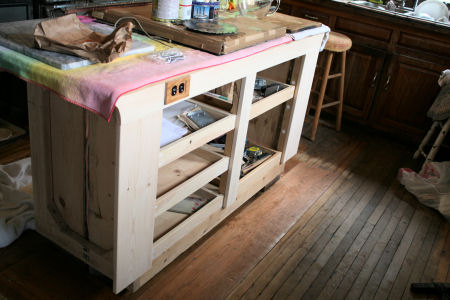 |
Left view of the facing in place.
|
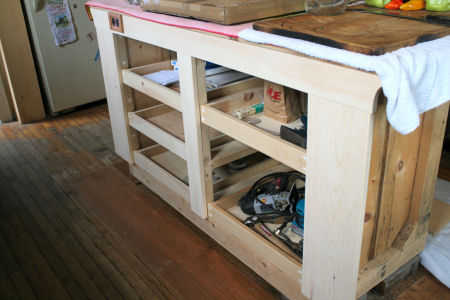 |
Right view of the facing in place.
|
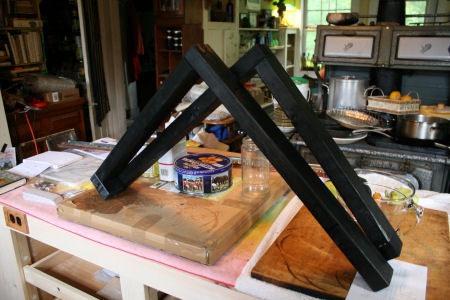 |
In progress September 6, 2009. Black base frame. Since the structure 'floats' 3/16-inch off the floor, the black lets it look as if it is floating just above the floor.
|
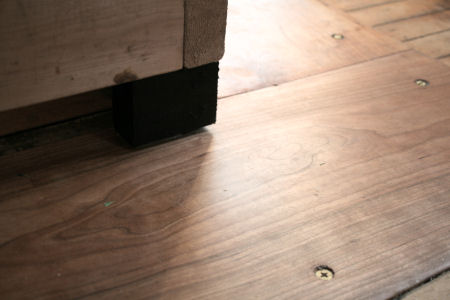 |
Black base installed before last facing sections are added.
|
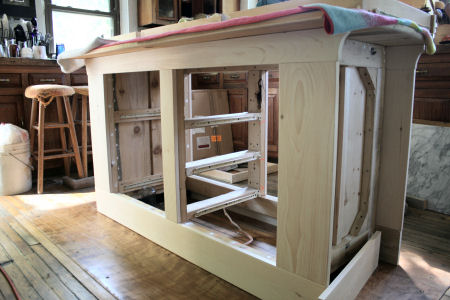 |
Lower black facing in place, with island floating just off the floor.
|
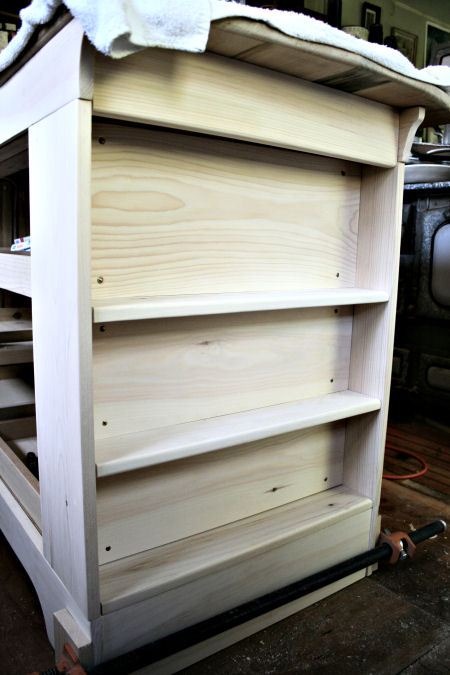 |
End shelves. The only visible screws in the entire unit are the old-style flat-head brass screws that hold the end panels in place. Glued dowels hold the end panel bottom, trim and two shelves in place. The lower shelf sits on pins, and can be pulled up & out for storage of rarely used kitchen goods.
|
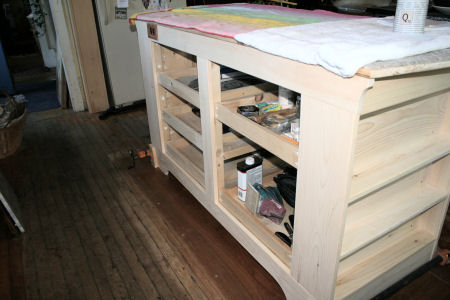 |
Front facing is arched instead of going straight to the floor, so that working cooks are not forever kicking the island as they work.
|
 |
Personal LOLcat Gesualdo has made a determination.
|
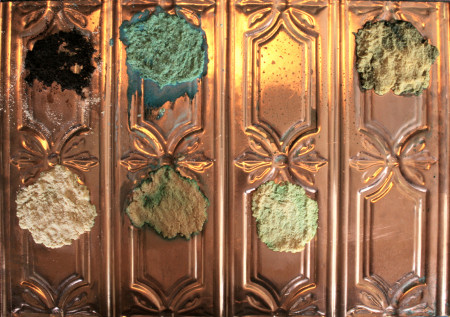 |
In progress September 9, 2009. The back of a copper splash panel is tested for aging. The materials are embedded in sawdust: (top row) balsamic vinegar, Miracle Gro, urine drops, urine, (bottom row) hydrogen peroxide, lemon juice, white vinegar, and nothing. Miracle Gro made the nicest color, but none of them held after a few days, and we decided to leave it to natural aging when the actual copper arrived.
|
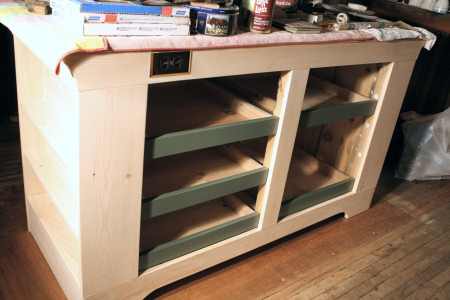 |
In progress September 14, 2009. Waiting for copper panels, so drawer fronts are painted with a satin village green.
|
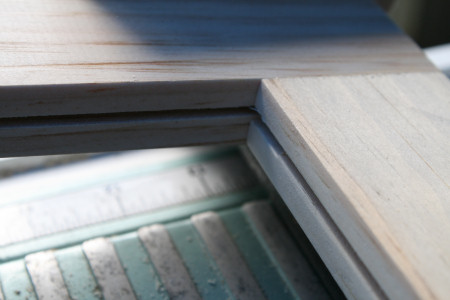 |
In progress October 5, 2009. The copper panels arrived, so back to work. Wood framing pieces are cut to size, a channel routed, and fit together. The channel will hold the copper panels in place.
|
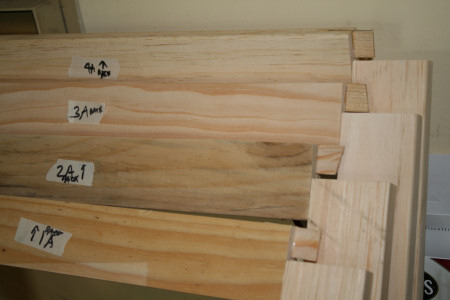 |
Tongues are glued in place. The labels are attached because door sizes differ by about 1/16 inch.
|
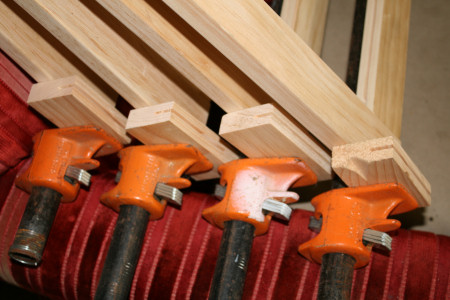 |
Frame bottoms are clamped and glued. The copper panels will slide into the U-shaped frame groove after everything is stained.
|
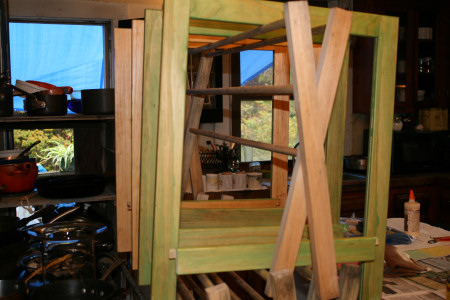 |
The stained doors are hanging to dry. The stain consists of a barnboard green base covered with Puritan pine stain/sealer. The photos are at different times of day and with varying lighting, so the colors are not true, but reveal how the island will look as light changes in the kitchen.
|
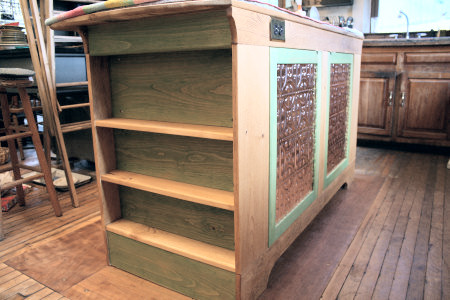 |
In progress October 6, 2009. The full-unit staining begins. The back panels of the shelves and the doorframes have the barnboard green and Puritan pine combination, the rest of the island Puritan pine alone. This stain allows the wood to continue to age, so the colors will mellow; the copper will also slowly darken.
|
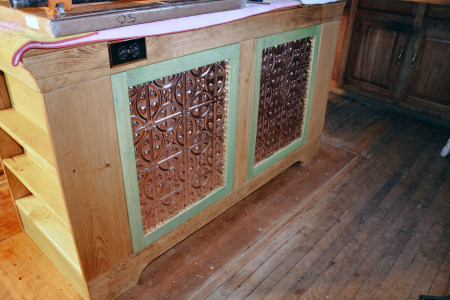 |
Copper panels are in the doors, temporarily held in place. The doors swing up and into channels above the top shelf. The remaining steps are to finish the door mechanism, add small pulls to the door bottoms, and the celebration of lifting the granite top into place. (Because this unit faces a set of cabinets, there is no space to take a front-on shot.).
|


